
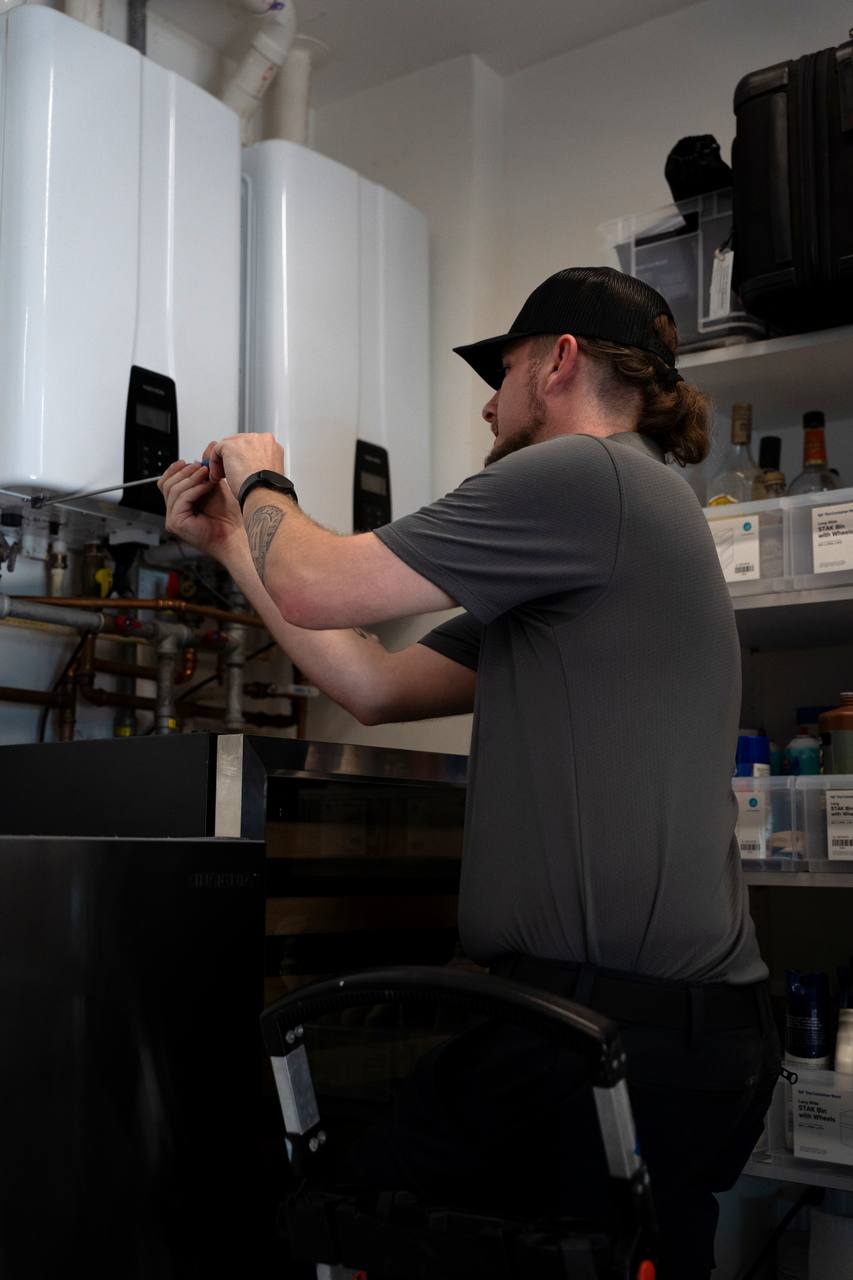
With fall well on its way and winter right around the corner, it is time to start thinking about how you can prepare your home for the frigid months and avoid time-consuming and costly repairs and maintenance. As the temperature begins to drop, you will likely start increasing the amount of hot water you will need to stay warm, so you must check it now and then to ensure it is in working order to sustain a heavy load as winter arrives. If you are unsure of how to routinely maintain your water heater, here are things you should keep in mind that will help make sure your water heater remains in good condition and prepared for the winter.
Check & Adjust The Temperature
Fall is the best time to check and adjust the temperature settings on your water heater before winter arrives. Rather than turning up the temperature to combat the cold, it is far more efficient to insulate your plumping and maintain a lower temperature. While nobody is stopping you from turning up your temperature as high as you would like, stopping it down 1-2 degrees and having good insulation can make a significant difference in your annual energy consumption and spending over the winter.
Insulate Your Plumbing & Water Heater
As mentioned in the previous section, adequately insulating your home is one of the best measures you should take to winterize your home and reduce energy consumption. Heat loss can occur when hot water is just sitting in your water heater’s tank, forcing it to work harder and longer to maintain the temperature, driving up your energy bills.
Furthermore, if you do not protect your piping with insulation, water may freeze and burst as it travels through any piping without insulation, so be sure to insulate every part of your home’s plumbing that is not already insulated.
Flush The Tank
To avoid the build-up of hard mineral sediment and other debris, you should flush your tank several times throughout the year. You can do this by attaching a hose to the drain valve, which should be near the bottom of the tank. Once the hose is secure, place the other end near a drain or outside of your home so that the water drains without making a mess inside.
You can then proceed to turn off the water and power supply to the tank before opening the drain valve and flushing the tank, removing any sediments that have built up inside. You may need to repeat this process a few times before all the build-ups are gone.
Examine The Anode Rod
As you flush your water heater tank, you should also check the anode rod inside the tank with the water. This magnesium or aluminum rod’s job is to attract any minerals and elements that may be corrosive to your tank, preventing it from rusting. Because of that, over time, the anode rod itself can begin to corrode or get coated with calcium, at which point you will need to replace it. To check it, you need to pull the anode rod out of the tank and give it a visual inspection. If it appears to have a thick coating of calcium or other sediments, you should consider buying a new one.
Check The TPR Valve
The TPR valve is responsible for temperature-pressure relief by opening to release vapor if the pressure inside the water tank reaches beyond acceptable limits for the tank to operate properly. You can check its status by placing a bucket beneath the valve and opening it a few times. If it leaks, you should replace it.
Hire Professionals
If you require a team of professionals to see that your home is properly winterized and make sure your water heater is in good working condition, consider hiring Flamingo Plumbing & Backflow. We offer year-round, 24/7 service and have been serving the residents of South Florida since 1992.